Getting Started
NetVigil continuously monitors your external attack surface — domains, IP addresses, open ports, running services, and known vulnerabilities. This guide walks you through setting up your first monitored asset.
1. Create an Account
Sign up at https://app.netvigil.ca. You can create an organization during signup or join an existing one via invitation.
2. Add a Domain
From the Assets page, enter a domain name (e.g.,
example.com) and click "Add Asset".
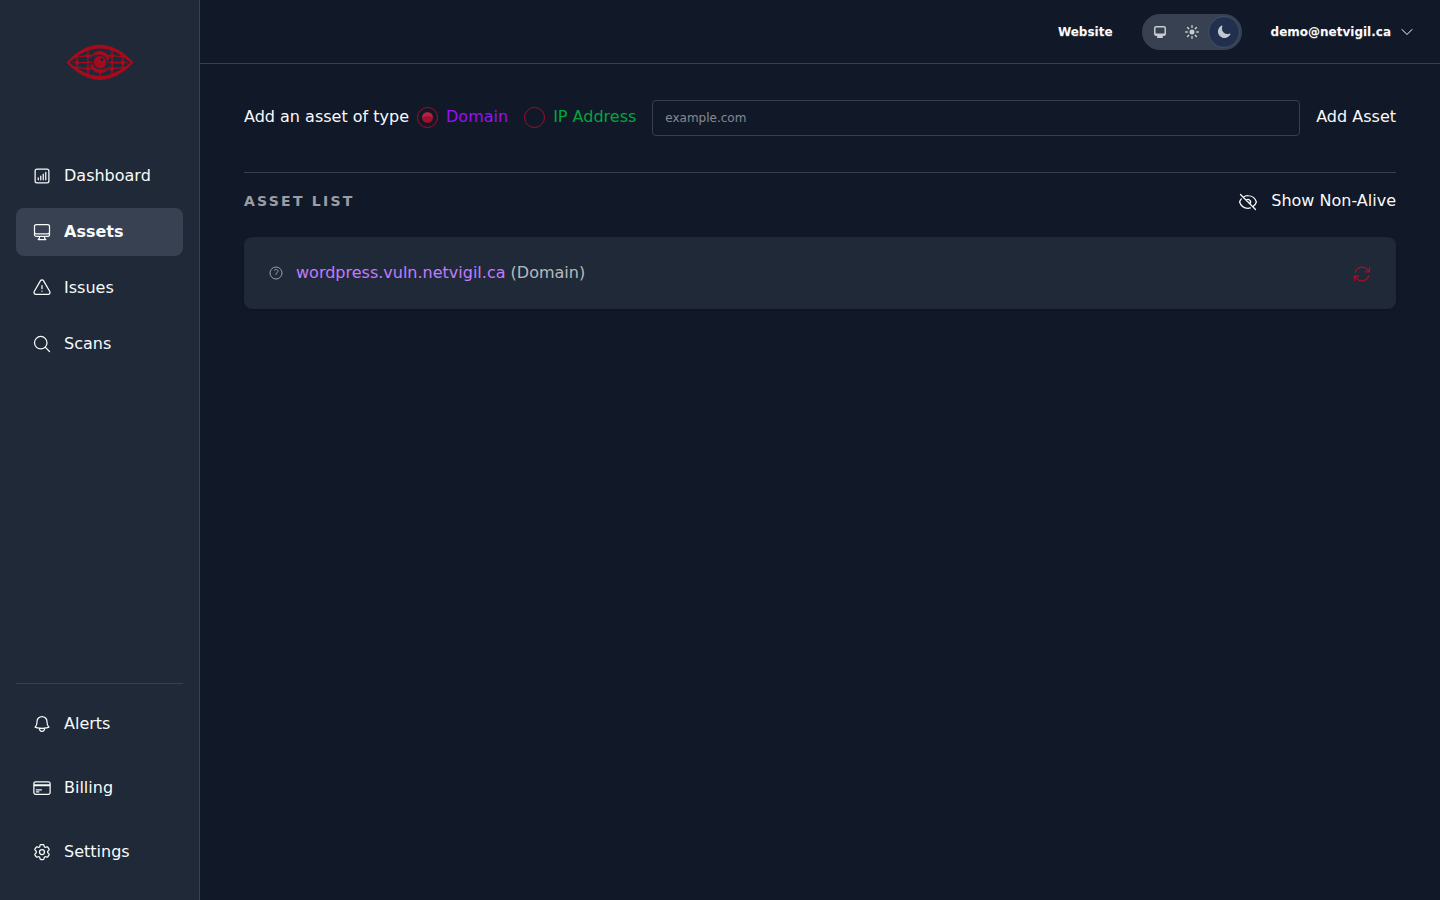
3. Refresh the Domain
The newly added domain will be scheduled for scanning. Immediate scanning can be started by using the Refresh button.
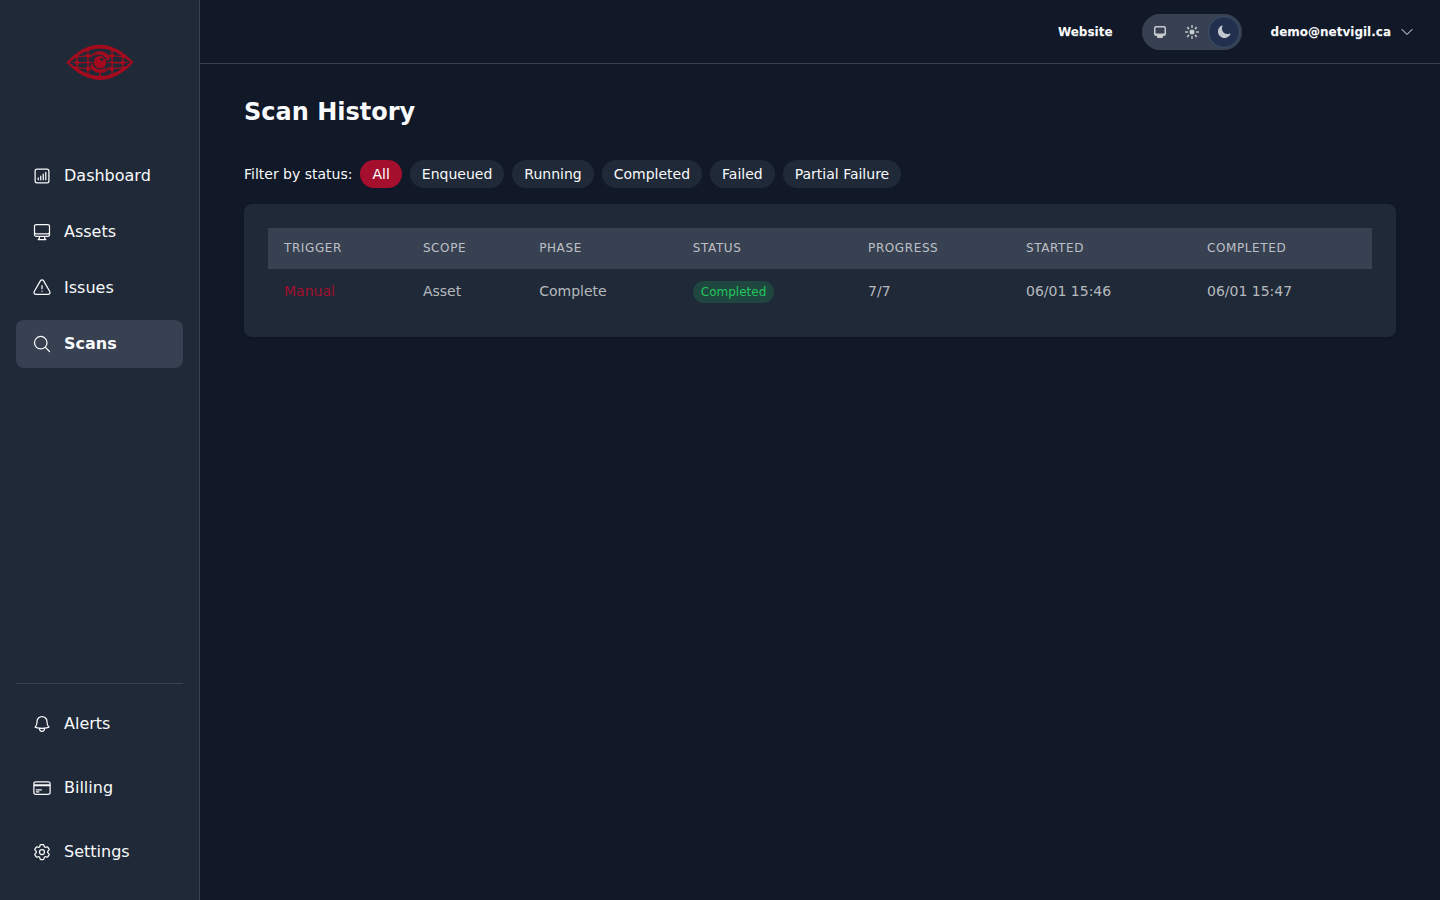
4. Review Scan Status
Scans typically complete within a few minutes. Visit the Scans page to see the current status of your scan, including which phases have completed and how many individual scans succeeded.
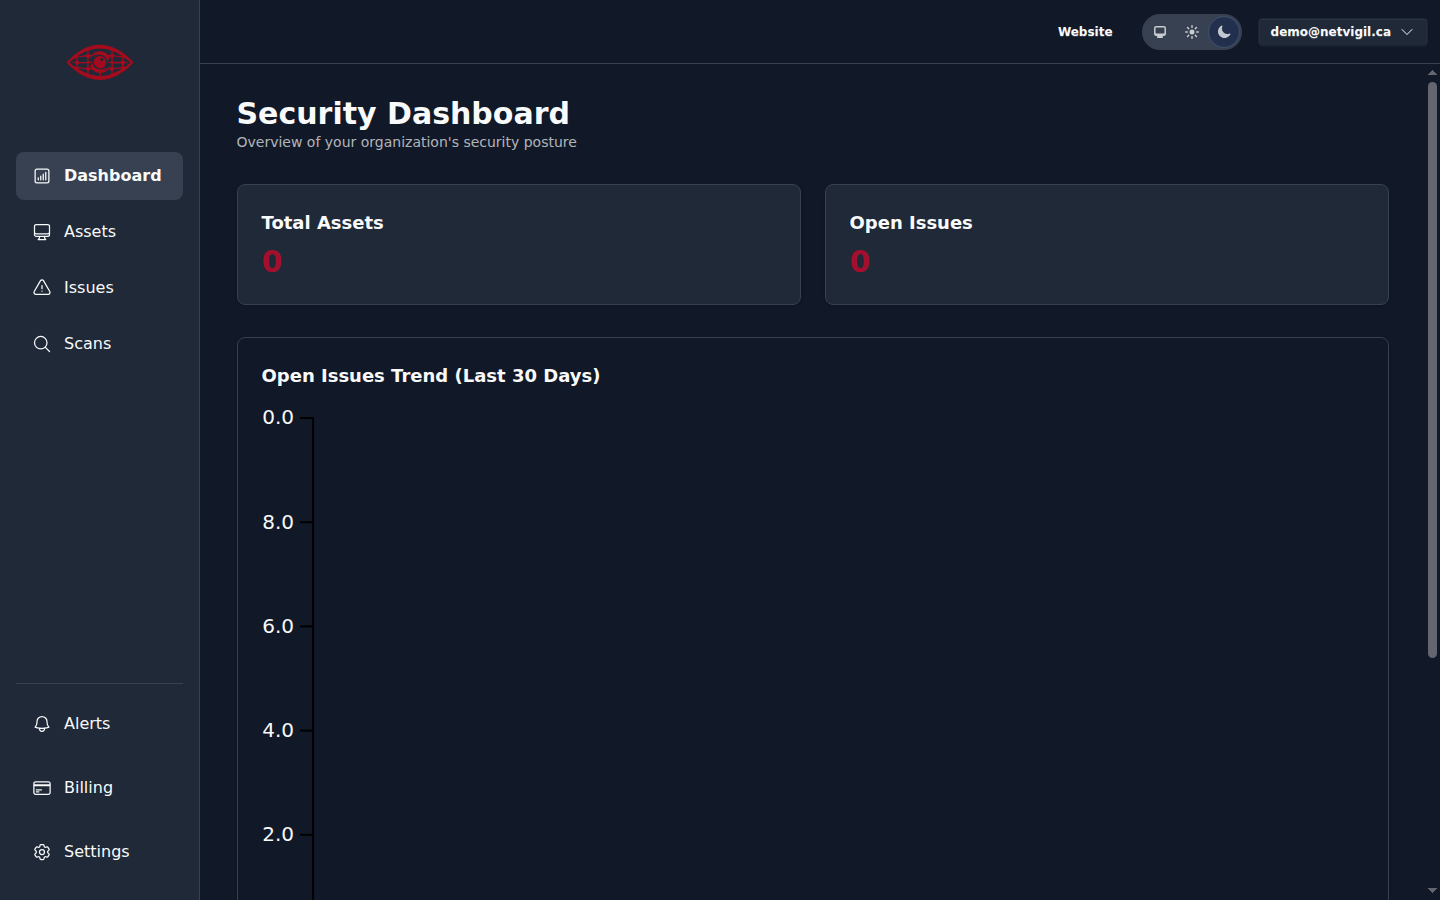
5. Review Issues
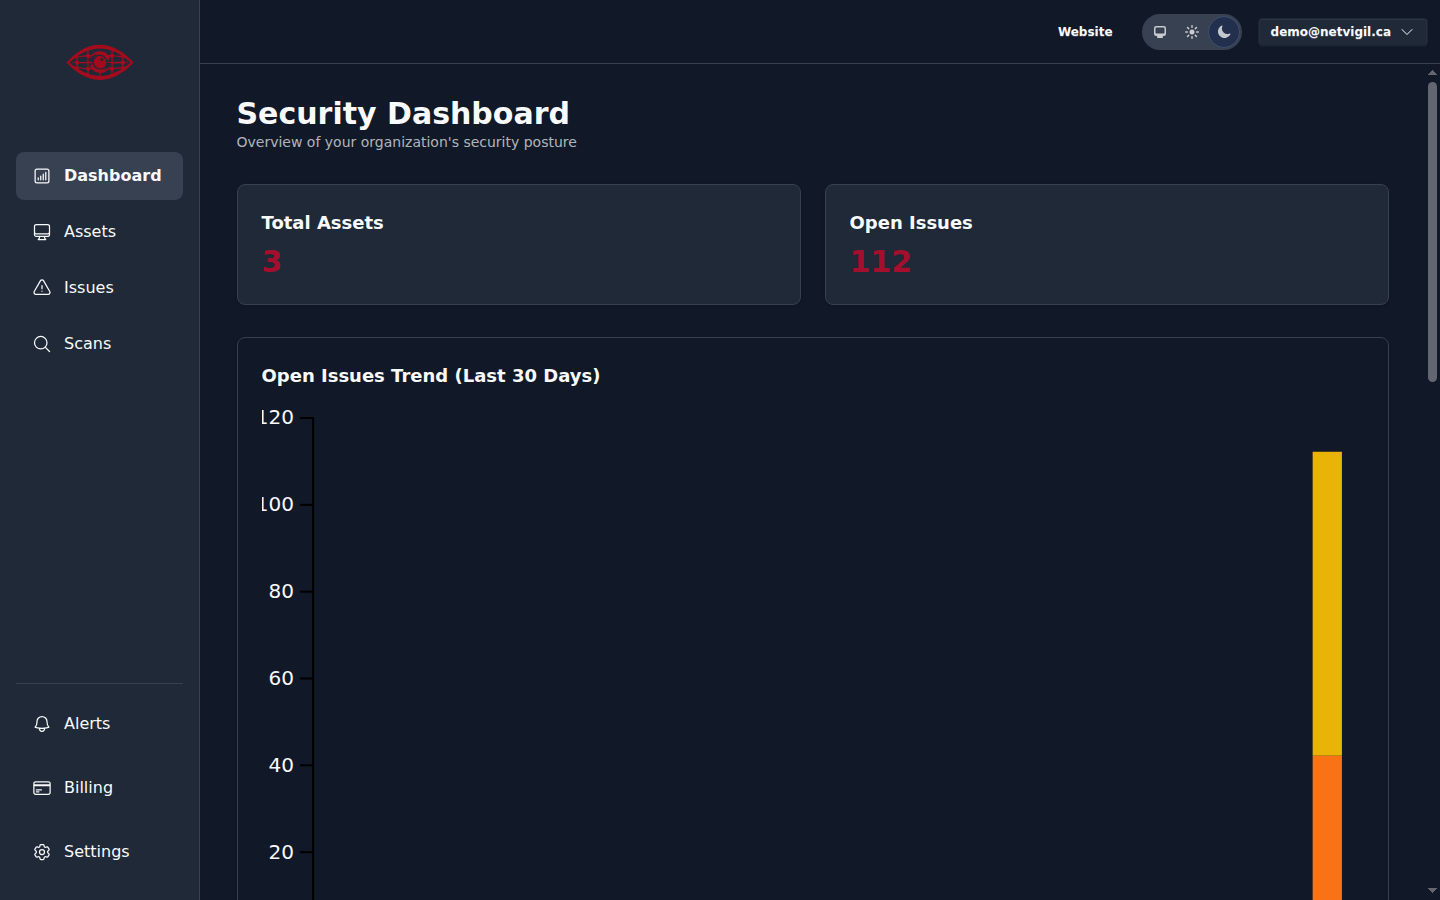
The Dashboard provides an at-a-glance summary of your total assets, open issues, and critical issue counts, along with a trend chart showing how your issue count has changed over the last 30 days.
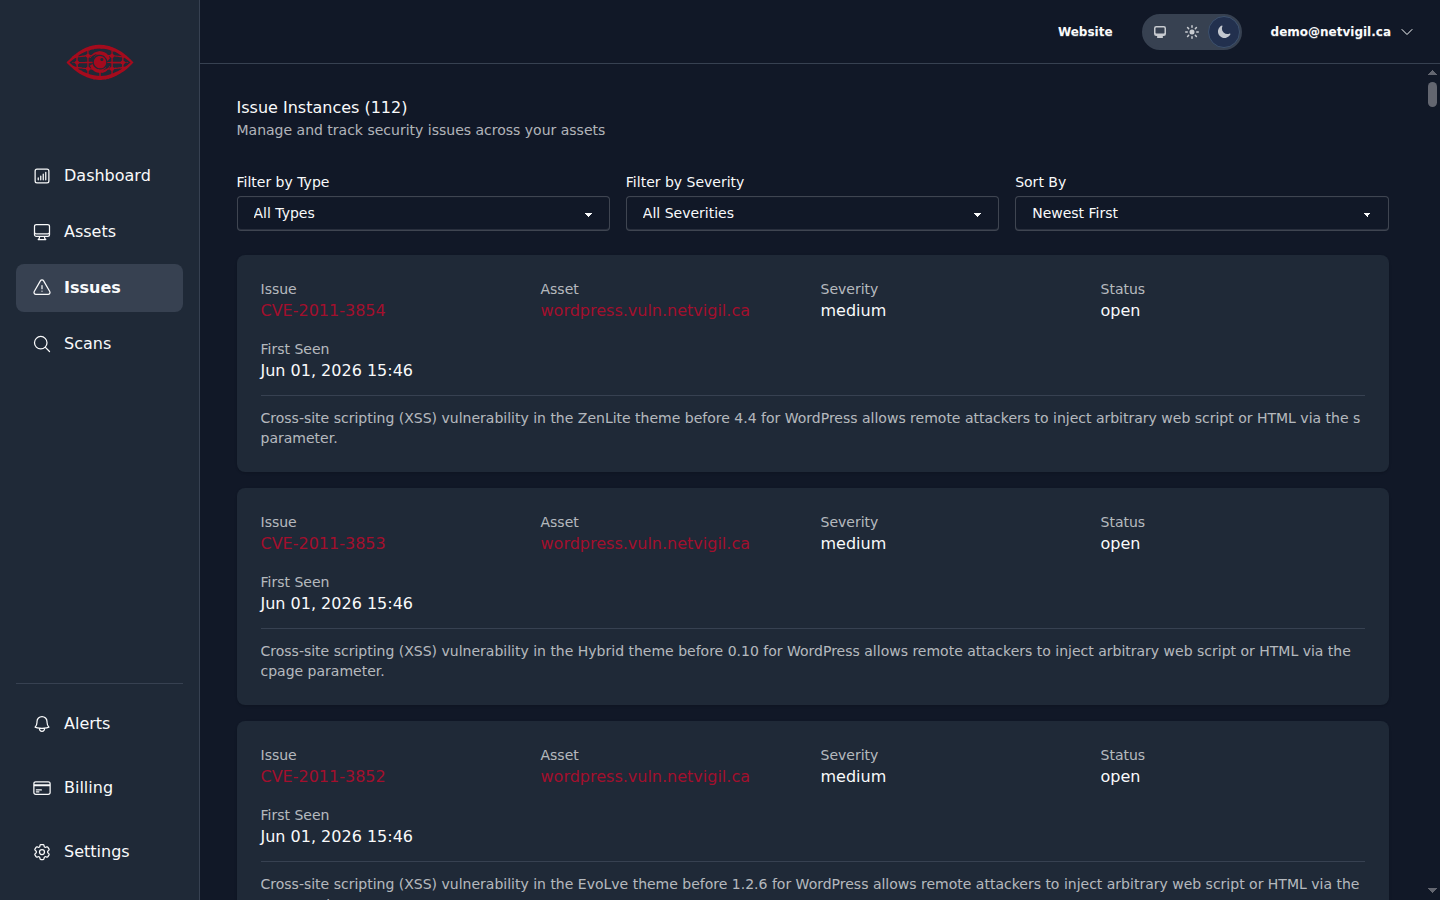
A full list of all discovered issues appears on the Issues page. Each issue shows the affected asset, the CVE identifier, severity rating, and a summary of the vulnerability. Issues are grouped by severity — Critical and High findings are surfaced first so you can prioritize remediation.
6. Set Up Alerts
Navigate to Settings → Alerts to configure notification rules. You can choose to receive immediate emails for critical findings, or periodic digest emails summarizing all new issues. See the Alerts & Notifications guide for full details.
7. Add More Assets
Add additional domains and IP addresses to build a complete picture of your external attack surface. Each new asset will be automatically scanned as soon as it's added.